
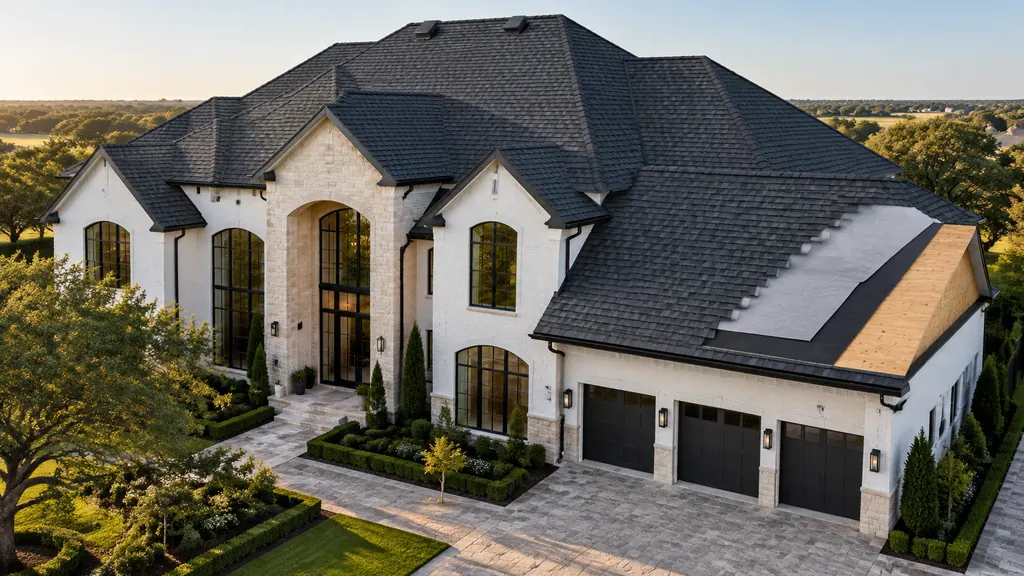
Layer by layer
How a complete roof system goes together
Here is every stop on the tour in the order it's built, from the wood deck up to the airflow that protects it.
Step 1 · Structure
Roof Decking
Decking is the wood sheathing everything else is fastened to. Soft, rotted or delaminated boards should be found and replaced during tear-off, not covered over. We walk the deck and point out any boards that need replacing before anything new goes down.
- Material:
- Wood sheathing over the rafters
- Job:
- Gives every nail something solid to grip
- Watch for:
- Soft, rotted or delaminated boards
- Our step:
- We walk the deck after tear-off
Step 2 · Layer · Backup protection
Underlayment
Underlayment is a water-resistant layer over the whole deck. It's the backup if wind-driven rain gets under a shingle. Your written scope names the underlayment we're installing, so you know exactly what's under your shingles.
- Covers:
- The entire roof deck
- Job:
- Backup if rain gets under a shingle
- At the eaves:
- Ice and water barrier strip
- In writing:
- Named in your written scope
Step 3 · Water channel
Valleys & Ice and Water Barrier
A valley is where two roof slopes meet, so it carries more water than any other part of the roof. Self-sealing ice and water barrier goes down in the valley before the shingles, so a nail or a worn spot doesn't become a leak.
- Where:
- Where two roof slopes meet
- Load:
- Carries more water than any other spot
- Protection:
- Self-sealing ice and water barrier
- Watch for:
- Worn shingles, debris, slow leaks
Step 4 · Roof edge · Drainage
Drip Edge & Gutters
Metal drip edge guides water off the roof edge and into the gutters instead of behind them. Missing drip edge and clogged gutters are common causes of fascia rot along the eaves.
- Drip edge:
- Metal flashing along every roof edge
- Job:
- Guides water into the gutters
- Protects:
- Fascia and decking edges
- Watch for:
- Missing drip edge, overflowing gutters
Step 5 · Roofing · Weather surface
Shingles & Starter Strip
Shingles are the layer you see and the first line of defense against hail, sun and rain. A starter strip seals the first row so the edges don't lift in wind. Skipped starter strip and wrong nail placement are common reasons shingles blow off.
- Options:
- Class 3 and Class 4 impact-resistant
- Starter:
- Seals the first row against wind lift
- Nailing:
- Manufacturer's nailing pattern
- Watch for:
- Granule loss, lifted tabs, hail bruising
Step 6 · Ventilation · Exhaust
Ridge Cap & Active Exhaust
Ridge cap shingles seal the peaks and hips. Near the top of the roof we install Roof I Vent active airflow to move hot, moist attic air out. We don't install passive ridge vents, and we never recommend solar or power vents because their motors can fail.
- Cap:
- Hip and ridge cap shingles seal every peak
- Exhaust:
- Roof I Vent active airflow
- We skip:
- Passive ridge vents, solar and power vents
- Purpose:
- Moves hot, moist attic air out
Step 7 · Ventilation · Intake
Soffit Intake
Exhaust only works with enough fresh air coming in. We make sure there's adequate intake through the soffits. If a home has no soffits, or spray foam or insulation covers them, we create intake with Roof I Vent flow vents on the face of the roof.
- Where:
- Vented soffits under the eaves
- Job:
- Brings fresh air into the attic
- Watch for:
- Soffits blocked by insulation or spray foam
- No soffits?:
- Roof I Vent flow vents on the roof face
Keep learning about your roof
Go deeper on airflow in our attic ventilation guide, see the Roof I Vent products we install, or read how we approach a complete roof replacement. Want to know what's on your own roof? Start with a free Roof Protection Inspection.